
Controlling PSoC™ LED using MQTT
Lab Overview
Let start
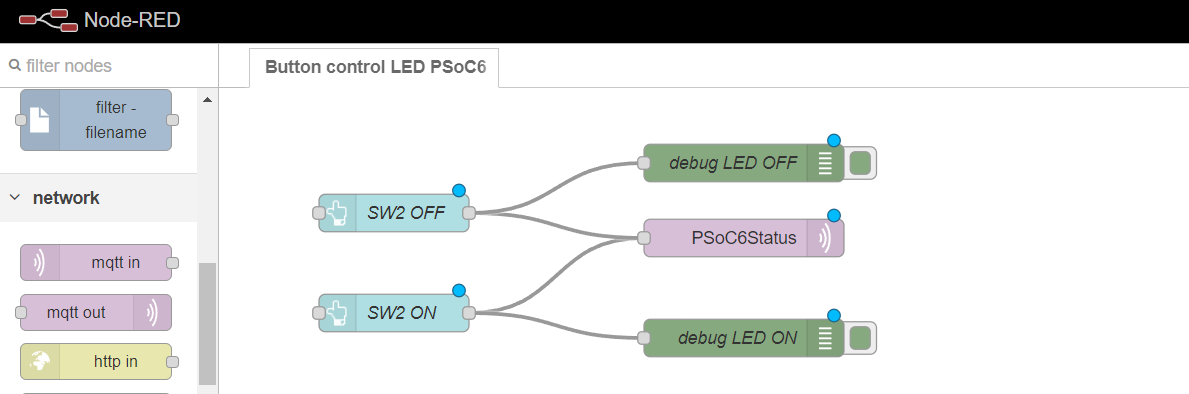
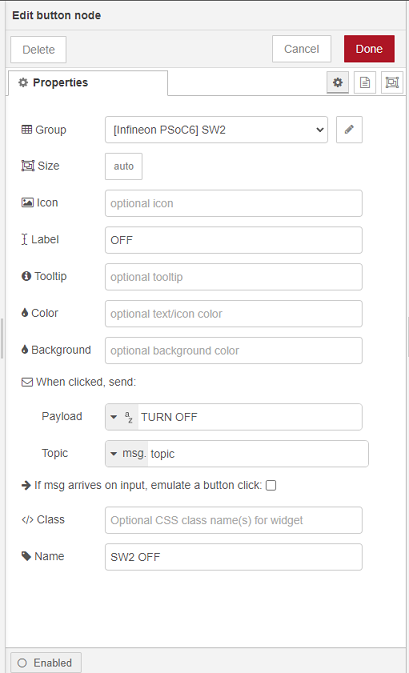
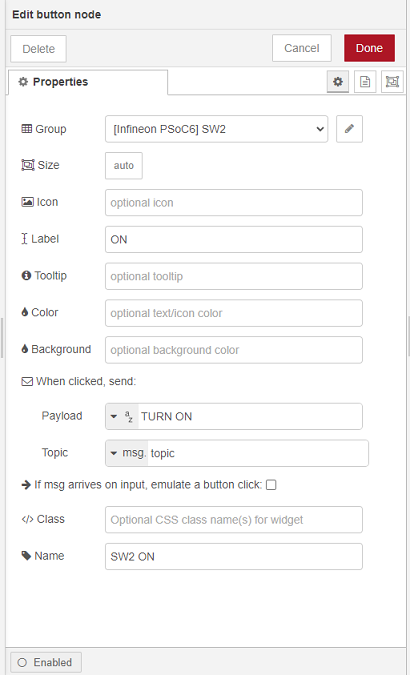
Setting Node-red


Last updated
Was this helpful?
Last updated
Was this helpful?
Was this helpful?
// i. MQTT CLIENT CONNECTION CONFIGURATION MACROS
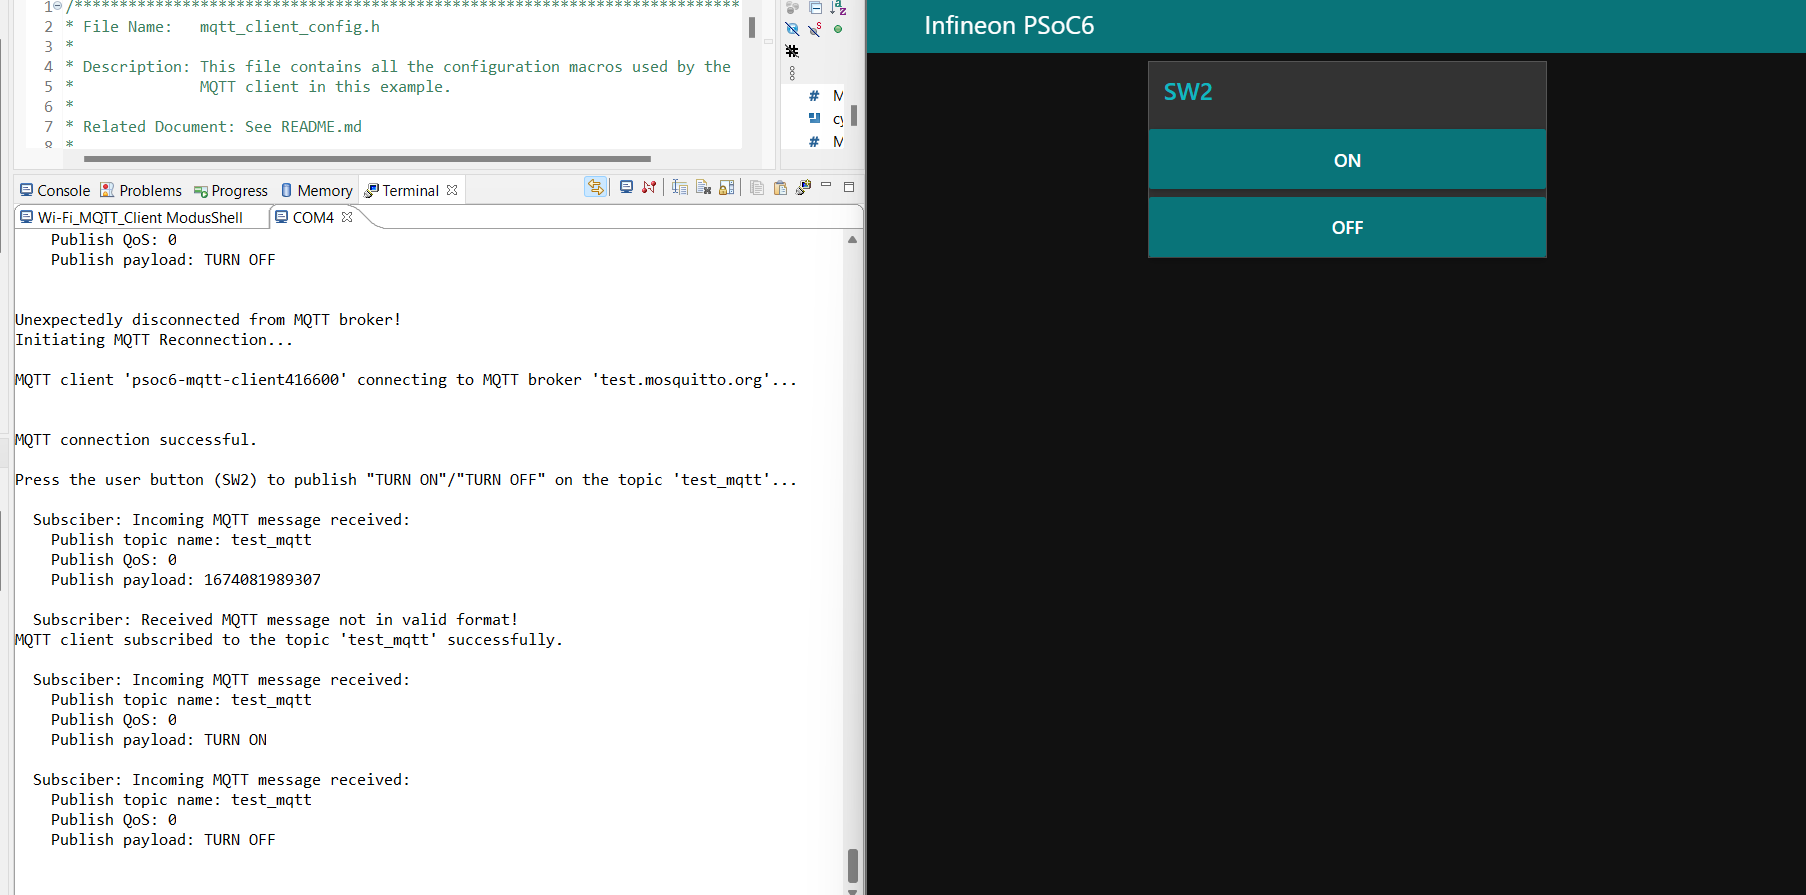
#define MQTT_BROKER_ADDRESS "test.mosquitto.org"
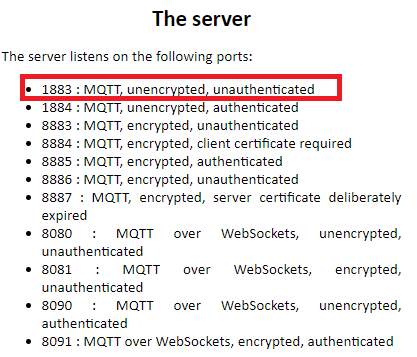
#define MQTT_PORT 1883
// ii. MQTT NON-SECURE
#define MQTT_SECURE_CONNECTION ( 0 )
/* iii. The MQTT topics to be used by the publisher and subscriber. */
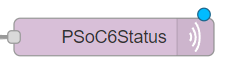
#define MQTT_PUB_TOPIC "PSoC6Status"
#define MQTT_SUB_TOPIC "PSoC6Status"
/* iv. Set the QoS that is associated with the MQTT publish, and subscribe message. */
#define MQTT_MESSAGES_QOS ( 0 )
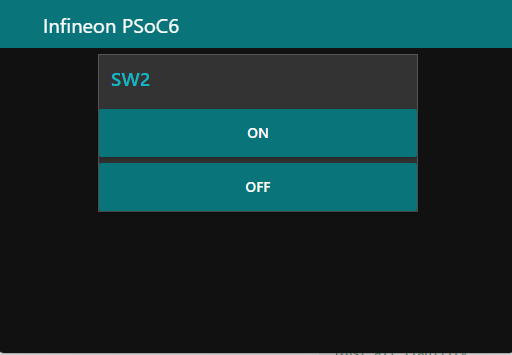
http://127.0.0.1:1880/ui